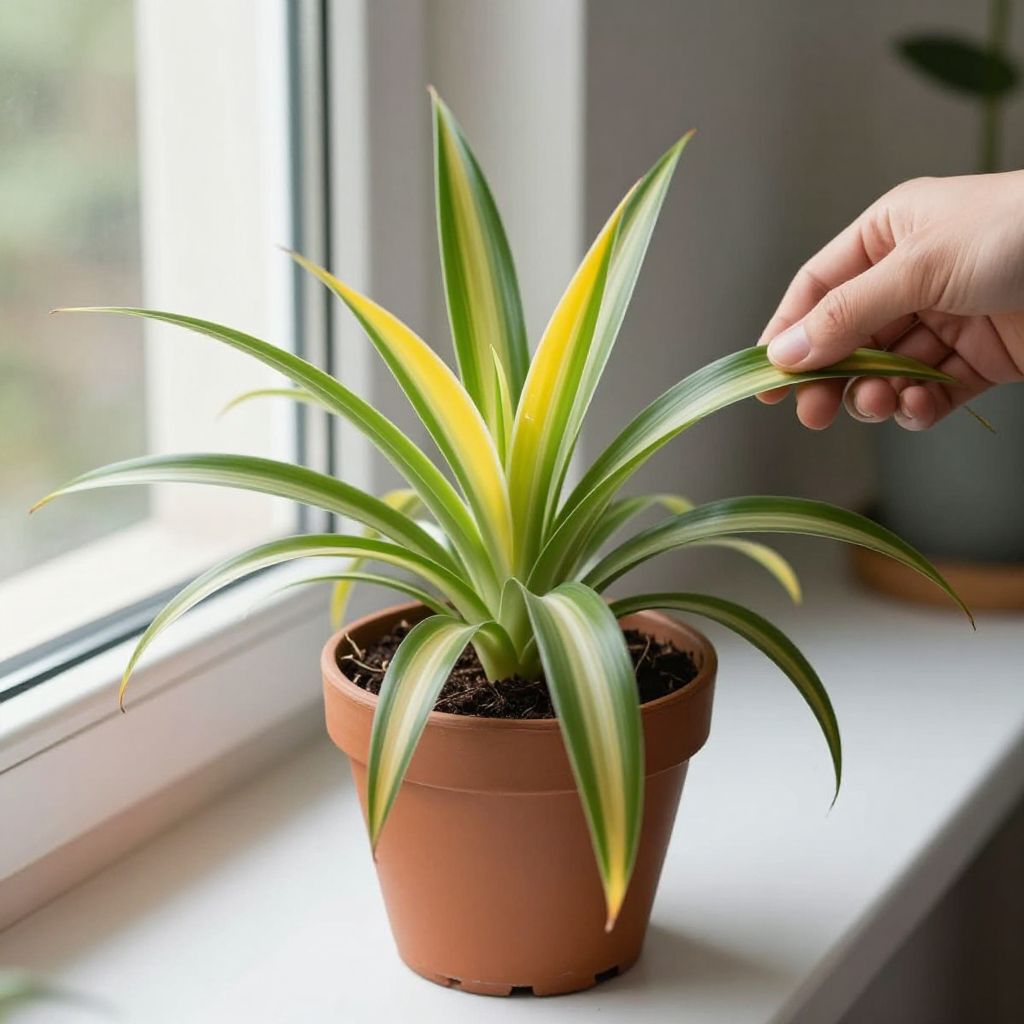
Why is my spider plant turning yellow? In most cases, it’s a sign that the plant is stressed by watering problems, poor light, mineral buildup, or aging leaves. Spider plants are forgiving, but yellowing foliage is their way of telling you something in the growing conditions needs attention.
The good news is that the fix is usually straightforward once you narrow down the cause. With a few checks on light, watering, soil, and roots, you can often stop the yellowing and help your spider plant recover.
Why is my spider plant turning yellow?
Spider plants (Chlorophytum comosum) usually turn yellow because of overwatering, underwatering, too much direct sun, poor drainage, or salt and fluoride buildup in the soil or water. Older leaves can also yellow naturally. Start by checking the soil moisture, light level, and pot drainage before changing anything else.
Common causes of yellow spider plant leaves
1. Overwatering
Overwatering is the most common reason spider plant leaves turn yellow. When roots sit in wet soil too long, they cannot get enough oxygen, and the plant begins to decline.
Signs include soft, pale leaves, soggy potting mix, and a pot that stays wet for days after watering. In severe cases, the roots may turn brown and mushy.
What to do:
- Let the top 1 to 2 inches of soil dry before watering again.
- Make sure the pot has drainage holes.
- Empty saucers after watering so the plant is not sitting in runoff.
- If the soil smells sour or stays wet too long, repot into fresh, well-draining mix.
2. Underwatering
Spider plants tolerate some drying out, but if they go too long without water, the leaf tips may brown first and the leaves can fade to yellow. This is more likely in warm rooms, bright light, or small pots that dry quickly.
Signs include dry, crispy leaf tips, curling foliage, and soil pulling away from the sides of the pot.
What to do: Water thoroughly until excess drains out, then adjust your routine so the plant does not dry out completely for long periods. Water when the top layer of mix feels dry to the touch, not on a fixed calendar alone.
3. Too much direct sunlight
Spider plants prefer bright, indirect light. Strong direct sun, especially through a hot window, can bleach or scorch the leaves, leading to yellow patches and faded color.
If the plant sits in a south- or west-facing window, watch for leaf paling, crispy edges, or sunburned spots.
What to do:
- Move the plant a few feet back from the window.
- Use a sheer curtain to soften harsh light.
- Rotate the pot every week or two for even growth.
4. Not enough light
Very low light can also cause yellowing, especially if the plant is already stressed. In dim rooms, spider plants may grow weakly, lose color, and produce fewer new leaves.
This is different from sunburn: low-light yellowing is usually gradual and comes with thin, stretched growth.
What to do: Place the plant in bright, indirect light, such as near an east-facing window or a few feet from a bright window. If natural light is limited, move it to the brightest practical spot indoors.
5. Poor drainage or heavy soil
Spider plants need a loose potting mix that drains well. Dense, compacted soil holds too much water around the roots and can lead to yellow leaves even if you are not overwatering heavily.
If the potting mix feels muddy, stays wet for too long, or has broken down into a dense mass, drainage is likely part of the problem.
What to do:
- Use a quality indoor potting mix with good aeration.
- Repot if the mix is old, compacted, or sour.
- Choose a pot only slightly larger than the root ball.
6. Mineral buildup from tap water or fertilizer
Spider plants can be sensitive to salts, fluoride, and other minerals that build up in the soil over time. This often shows up as yellowing tips or browning edges, especially if you use hard tap water or fertilize often.
White crust on the pot rim or soil surface is a useful clue.
What to do:
- Flush the pot with plenty of clean water occasionally to wash out excess salts.
- Use filtered, distilled, or rainwater if your tap water is very hard or fluoridated.
- Reduce fertilizer if you have been feeding frequently.
7. Natural aging of older leaves
Sometimes the oldest outer leaves yellow and die back as part of normal growth. This is usually not a problem if the plant is otherwise healthy and producing new leaves and plantlets.
Natural aging tends to affect only a few older leaves at the base, not the whole plant.
What to do: Trim off yellowing leaves near the base with clean scissors. If the plant is otherwise vigorous, no major correction may be needed.
8. Rootbound plants
Spider plants often become rootbound in containers. When roots fill the pot, water and nutrients become harder to manage, and the plant may yellow even if care seems normal.
Signs include roots circling the pot, roots pushing out of drainage holes, and water running straight through without soaking in.
What to do: Repot into a slightly larger container with fresh mix, or divide the plant if it has become crowded. This is often a good time to remove damaged roots and refresh the growing medium.
9. Pests or disease
Spider plants are fairly resilient, but pests such as spider mites, aphids, or mealybugs can weaken the plant and cause yellowing. Root rot can also develop if the soil stays too wet.
Check leaf undersides, leaf joints, and the crown for tiny insects, sticky residue, webbing, or cottony clusters.
What to do:
- Isolate the plant if pests are present.
- Wipe leaves with a damp cloth.
- Treat pests with insecticidal soap if needed, following the product label.
- If you suspect root rot, remove the plant from the pot and inspect the roots.
How to diagnose the problem step by step
If you are not sure why your spider plant is turning yellow, use a simple process of elimination. Start with the easiest checks first and work downward.
- Check the soil moisture. Stick a finger 1 to 2 inches into the mix. If it feels wet, pause watering.
- Inspect the pot. Make sure there are drainage holes and no standing water in the saucer.
- Look at the light. Decide whether the plant is in harsh direct sun, deep shade, or bright indirect light.
- Examine the leaves. Yellowing with crispy tips points to dryness or mineral buildup; soft yellow leaves often point to too much water.
- Check the roots if needed. If the plant is declining, slide it out of the pot and look for healthy firm roots versus brown mushy ones.
- Review recent care. Think about any changes in watering, fertilizer, location, or temperature.
How to fix a yellowing spider plant
Adjust watering correctly
Water spider plants deeply, then let the top layer of soil dry before watering again. The goal is evenly moist soil, not constant wetness.
In warmer, brighter conditions, you may water more often than in winter or low light. Always check the soil first rather than following a rigid schedule.
Repot if drainage is poor
If the soil is compacted or the pot is too small, repot into fresh, airy mix. A blend made for houseplants or indoor foliage plants usually works well.
Choose a pot with drainage holes and only one size larger than the current root ball. Too large a pot can hold excess moisture and make yellowing worse.
Move the plant to better light
Place the spider plant where it gets bright, indirect light for most of the day. Avoid intense afternoon sun unless it is filtered.
If the plant has been in a low-light corner, move it gradually if possible so the change is less stressful.
Flush salts from the soil
If you suspect buildup from fertilizer or tap water, flush the pot thoroughly. Let water run through the container several times, then allow it to drain completely.
After flushing, hold off on fertilizer for a few weeks and watch for improvement.
Remove damaged leaves
Yellow leaves will not turn green again. Trim them off once they are mostly yellow or dead, using clean scissors or pruners.
This helps the plant look better and directs energy toward healthy new growth.
Preventing yellow leaves in the future
Once your spider plant improves, steady care will help keep the foliage green and healthy. Small adjustments matter more than frequent drastic changes.
- Use a pot with drainage holes.
- Water only when the top 1 to 2 inches of soil dry out.
- Keep the plant in bright, indirect light.
- Use a loose, well-draining potting mix.
- Fertilize lightly and only during active growth if the plant needs it.
- Use filtered or rainwater if leaf tips keep browning.
- Repot when roots become crowded.
Indoor vs. outdoor spider plants
Most spider plants are grown indoors, but in mild climates they can be used outdoors in containers or hanging baskets. Outdoors, yellowing is often linked to stronger sun, temperature swings, or rain that keeps the soil too wet.
If your plant is outside, protect it from hot afternoon sun and make sure the container drains freely after rain. Bring it indoors if nights become cool or if conditions are too wet for long periods.
When yellowing is a sign of a bigger problem
If the entire plant is yellowing quickly, the crown is soft, or roots are rotting, act fast. These symptoms suggest more than a cosmetic issue.
Remove the plant from the pot, trim away rotten roots, and repot into fresh mix if any firm healthy roots remain. If the crown is badly damaged, propagation from healthy plantlets may be the best way to save the plant.
For a healthy spider plant, the key is simple: check the soil, correct the light, and make sure the roots have room to breathe. If you want to keep improving your houseplant care routine, you may also find it helpful to read about spider plant care basics and when and how to repot houseplants.