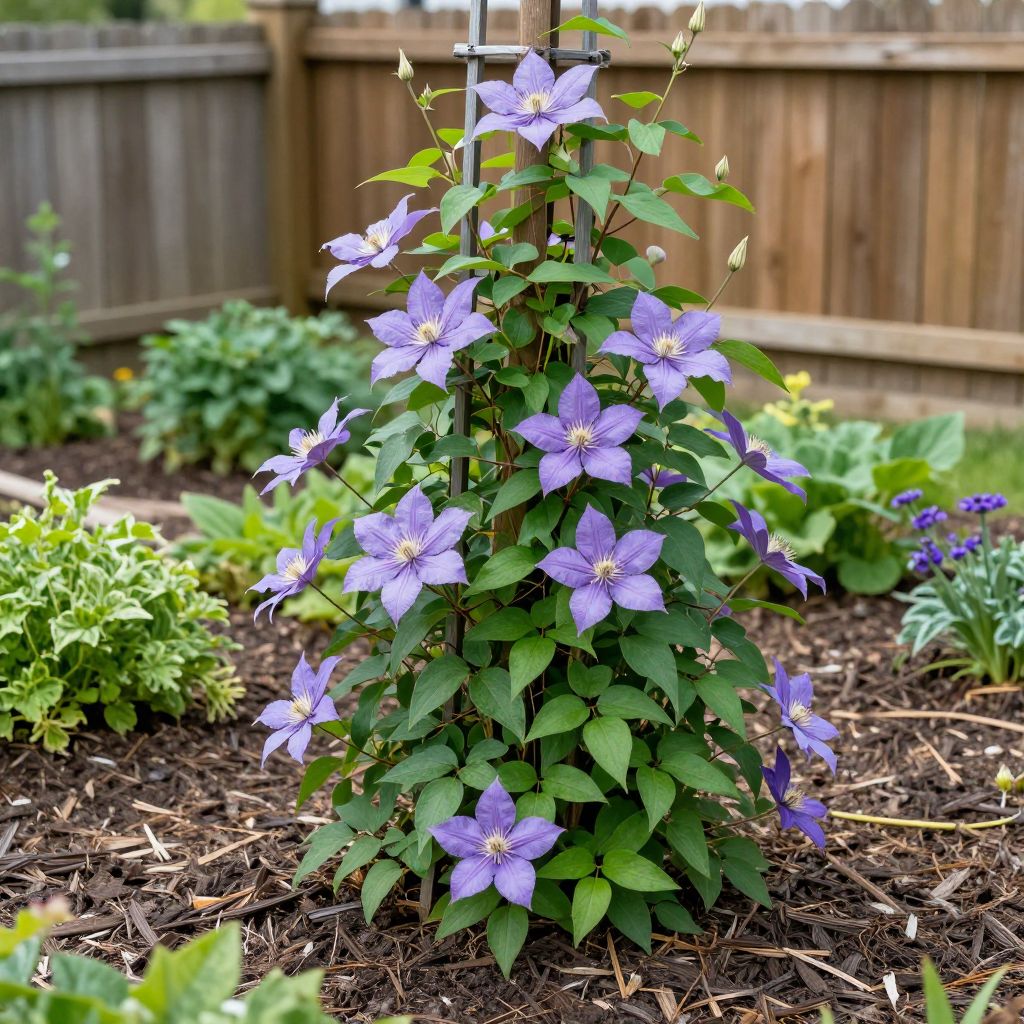
Are clematis perennials? Yes—most clematis are perennial climbing vines, meaning they come back year after year from their roots. With the right planting site and a little seasonal care, they can live for many years and become larger, more floriferous, and more valuable in the garden over time.
The key is understanding that clematis are not all the same. Some are long-lived herbaceous types that die back in winter, while many popular garden clematis are woody vines that keep their stems above ground in milder climates. Knowing which type you have helps you prune, water, and support it correctly.
Are clematis perennials?
Yes, clematis are perennials. In most gardens, clematis return each year from established roots, even if the top growth dies back in winter. Many are climbing perennials that bloom for years when planted in well-drained soil, given support, and pruned according to their flowering group.
What kind of perennial is clematis?
Clematis can be herbaceous or woody, but both forms are perennial. Herbaceous clematis die back to the ground each year and regrow from the crown or roots. Woody clematis keep their stems and branches, especially in mild winters, and climb by twining leaf stems around supports.
Common garden types
- Large-flowered hybrids are the classic showy clematis many gardeners grow on trellises and fences.
- Species clematis are often more vigorous and sometimes easier to maintain.
- Herbaceous clematis behave more like perennial border plants and may need less structural pruning.
Because clematis are perennial, they are best treated as a long-term planting rather than a quick annual display. A newly planted vine may spend its first season building roots before producing a strong show of flowers.
How to plant clematis for long-term success
Clematis usually do best when their roots stay cool and moist while their stems grow into full sun or light shade. That simple balance is one of the biggest reasons they thrive for years in the same spot.
Choose the right site
- Give the vine at least 6 hours of sun if possible, though some varieties tolerate part shade.
- Pick a spot with good drainage; clematis dislike soggy soil.
- Provide a support such as a trellis, arbor, fence, or obelisk before planting.
- Keep the root zone shaded with mulch, low plants, or a small stone placed to shade the soil.
Planting basics
- Dig a hole wider than the root ball and loosen the surrounding soil.
- Mix in compost if your soil is poor, but avoid making the planting hole too rich and heavy.
- Set the plant so the crown is slightly deeper than it was in the pot, especially in colder areas.
- Backfill, water thoroughly, and mulch around the base without piling mulch against the stems.
That slightly deeper planting can help protect the crown and encourage strong growth. In heavy clay or very wet ground, improve drainage first rather than planting low in a waterlogged hole.
Soil, compost, and drainage needs
Clematis prefer fertile, moisture-retentive soil that still drains well. They grow best in soil that feels crumbly and workable rather than sticky or compacted. Adding compost helps improve structure, but too much manure or constantly wet soil can cause root problems.
What good clematis soil looks like
- Loamy or improved garden soil
- Even moisture without standing water
- Moderate fertility rather than excessive nitrogen
- Neutral to slightly alkaline conditions for many varieties, though some adapt well beyond that
If your soil is sandy, compost helps it hold moisture. If your soil is clay-heavy, organic matter and careful drainage are especially important. In containers, use a high-quality potting mix and a pot with generous drainage holes.
Watering clematis through the seasons
Young clematis need regular watering while they establish roots. Mature plants are more forgiving, but they still perform best with steady moisture, especially during dry spells and active growth. Dry stress often shows up as wilting, smaller flowers, or weak new shoots.
Practical watering tips
- Water deeply rather than giving frequent light sprinkles.
- Check the soil a few inches down before watering again.
- Increase watering during hot, windy weather and in containers.
- Reduce watering in cool, rainy periods to avoid soggy roots.
A common mistake is watering only the surface. Clematis roots benefit more from slow, deep watering that reaches below the top layer of soil. Mulch helps conserve moisture and keeps the root zone cooler.
Sunlight and support: why clematis need both
Clematis are climbers, not self-supporting shrubs. They need something to twine around, and they need enough light to flower well. Without support, stems can tangle, flop, or break in wind.
Best support options
- Trellises attached to walls or fences
- Arbors and pergolas
- Wire systems or netting
- Small shrubs or trees with open branching, if the clematis is suited to that style of growing
Choose a support that matches the mature size of the clematis. A vigorous variety can quickly outgrow a small obelisk, while a compact type may be lost on a large structure. Secure the support firmly before the vine gets heavy.
Pruning clematis: the part that confuses most gardeners
Pruning depends on the clematis type, not just the season. Some bloom on old wood, some on new wood, and some on both. If you prune at the wrong time, you may remove flower buds for the year.
The three main pruning groups
- Group 1: Flowers on old wood, usually pruned lightly after flowering if needed.
- Group 2: Flowers on both old and new wood, usually given light pruning in late winter or early spring.
- Group 3: Flowers on new growth, usually cut back hard in late winter or early spring.
If you do not know the group, observe when your plant flowers. Spring bloomers are often old-wood types, while summer and late-season bloomers are often new-wood types. When in doubt, err on the side of light pruning until you identify the plant more confidently.
Simple pruning approach for beginners
- Remove dead, damaged, or weak stems first.
- Cut away tangled growth to improve air movement.
- Follow the plant’s flowering pattern before making major cuts.
- Use clean, sharp pruners to avoid tearing stems.
Feeding clematis without overdoing it
Clematis usually benefit from light feeding in spring, especially in poor soil, but too much fertilizer can create lush leaves with fewer flowers. Compost, well-rotted organic matter, or a balanced feed used sparingly is often enough.
Good feeding habits
- Top-dress with compost in spring.
- Use a balanced fertilizer only if growth is weak or soil is poor.
- Avoid high-nitrogen feeding that pushes leafy growth over blooms.
Container-grown clematis may need more attention because nutrients leach out faster from pots. Even then, feed lightly and follow the product label rather than trying to force growth.
Common clematis problems and how to fix them
As perennial vines, clematis are generally reliable, but they can struggle if the site is wrong or if they suffer from pests, disease, or poor pruning. Catching problems early makes a big difference.
Wilting
Sudden wilting can happen from drought, root stress, or clematis wilt disease. Check the soil first. If the soil is dry, water deeply. If stems collapse quickly despite moist soil, remove affected growth and improve airflow around the plant.
Poor flowering
Common causes include too much shade, incorrect pruning, excess nitrogen, or a young plant still establishing roots. Move or thin nearby shade if possible, and avoid heavy feeding.
Powdery mildew and leaf spots
These are more likely in crowded, poorly ventilated plantings. Space plants well, water at the base, and remove badly affected leaves if needed. Healthy airflow is one of the best preventions.
Pests
- Aphids may cluster on soft new growth.
- Slugs and snails can damage young shoots.
- Voles or rabbits may browse low growth in some gardens.
Most pest issues are manageable with regular inspection, hand removal where practical, and tidy growing conditions. Strong, well-sited plants usually recover better than stressed ones.
Can you propagate clematis?
Yes, clematis can be propagated, though patience helps. Home gardeners most often use layering or cuttings. Layering is usually the simplest method because the stem remains attached to the parent plant while roots form.
Layering in brief
- Choose a flexible stem close to the ground.
- Wound or lightly nick a section where it will touch the soil.
- Pin it down and cover that section with soil.
- Keep the area lightly moist until roots form.
Propagation is a good way to replace an aging vine or expand a favorite plant, but it is not necessary for success. A healthy clematis can remain productive for many years without being divided.
Do clematis die back in winter?
Some do, and some do not. Herbaceous clematis and many Group 3 types die back to the ground or to lower stems in winter, then regrow in spring. Other woody types keep more of their framework, especially in mild climates.
Winter dieback does not mean the plant is dead. Wait until spring to judge recovery, and avoid cutting away live stems too early if you are unsure. In colder climates, a mulch layer can help protect the root zone during freeze-thaw cycles.
How long do clematis live?
With good care, clematis can live for many years, often becoming more impressive as they mature. Their longevity depends on drainage, pruning, climate, and how well the roots are protected from heat and drought.
Older plants may flower less if they become shaded out, overcrowded, or neglected. A careful pruning, improved feeding, and better light can often revive performance before you consider replacing the vine.
Conclusion: the best way to grow clematis as a perennial
Clematis are dependable perennials when you give them the basics: fertile but well-drained soil, steady moisture, a strong support, and pruning that matches the type. If you want better blooms next season, start by checking your plant’s pruning group and improving the root zone this year.
For more practical help with perennial vines and garden care, you may also want to read about pruning climbing plants and improving garden soil with compost.