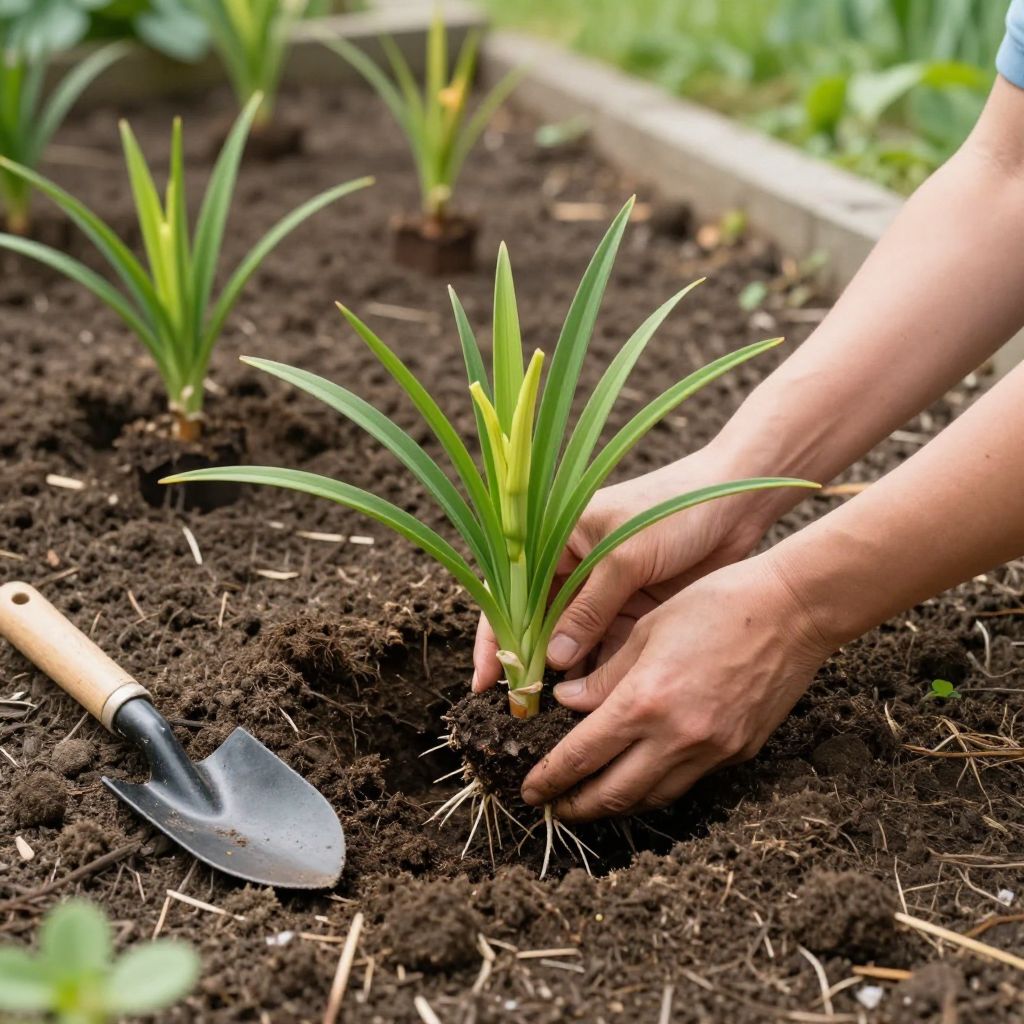
Wondering when to plant daylilies so they settle in quickly and bloom well? The best time is usually in spring or early fall, when temperatures are moderate and the soil is workable. That gives roots time to establish before summer heat or winter cold arrives.
Daylilies are forgiving, but timing still matters. Planting at the right season helps them root faster, handle stress better, and get off to a stronger start in your garden.
When to plant daylilies?
The best time to plant daylilies is in spring after the soil has warmed and can be worked, or in early fall at least 4 to 6 weeks before your first hard frost. In mild climates, fall planting often works especially well. Avoid planting during extreme heat or when the ground is frozen or waterlogged.
Best planting times by season
Spring planting
Spring is a reliable choice in most climates because daylilies can root as temperatures rise and moisture is usually more available. Plant them after the danger of hard freezes has passed and the soil is no longer cold and saturated.
Spring-planted daylilies often spend their first season building roots rather than blooming heavily. That is normal and usually pays off with stronger growth later.
Fall planting
Fall is often the best time to plant daylilies in many regions because the soil is still warm, air temperatures are cooler, and rainfall may increase. This combination encourages root growth with less stress from heat.
Choose early fall rather than late fall so the plants have time to settle in before winter. In colder areas, planting too late can leave roots too exposed to freeze-thaw stress.
Summer planting
Summer planting is possible, but it is the least forgiving option. If you buy daylilies in summer, plant them promptly and water carefully while they establish. Try to plant on an overcast day or in the cooler part of the day.
If you must plant in hot weather, give the plants extra attention for the first few weeks. Mulch, consistent moisture, and temporary afternoon shade can reduce transplant shock.
How to choose the right planting window for your climate
Local conditions matter more than the calendar. A planting date that works in a cool northern garden may be too late in a short-season climate or too early in a warm southern one.
- Cool climates: Plant in spring after frost danger or in early fall well before freezing weather.
- Warm climates: Fall and winter planting may be ideal if the ground stays workable and summers are very hot.
- Wet soils: Wait until the site drains well enough to avoid planting into mud.
- Dry climates: Plant when you can keep the root zone evenly moist during establishment.
If you are unsure, check your area’s usual first frost date and count backward 4 to 6 weeks for fall planting. For spring, wait until the soil is thawed, workable, and not soggy.
Where daylilies grow best
Daylilies perform best in full sun to light shade, with at least 6 hours of direct sun in many gardens. In very hot regions, some afternoon shade can help flowers last longer and reduce stress.
They prefer well-drained soil that holds some moisture but does not stay wet. Rich loam is ideal, but daylilies adapt to many soils if drainage is decent.
Soil preparation before planting
Before planting, loosen the soil to a depth of about 12 to 18 inches if possible. Mix in compost to improve structure, especially in heavy clay or very sandy soil.
Good soil preparation helps roots spread quickly. It also reduces the chance of standing water around the crown, which can lead to rot.
- Remove weeds and grass from the planting area.
- Work in 2 to 3 inches of compost if the soil is poor.
- Break up compacted soil so roots can move outward.
- Make sure water drains away within a reasonable time after rain or watering.
How to plant daylilies step by step
Whether you are planting bare-root divisions or container-grown plants, the goal is the same: place the crown at the right depth, spread the roots naturally, and water well.
- Dig a hole wide enough to spread the roots without bending them tightly.
- Form a small mound in the center of the hole if needed.
- Set the plant so the crown sits at or just slightly below soil level.
- Spread the roots over the mound or loosen them gently from the pot.
- Backfill with soil and firm lightly to remove air pockets.
- Water thoroughly to settle the soil around the roots.
- Add a light mulch layer, keeping it away from the crown.
Do not bury the crown too deeply. Deep planting can slow growth and increase the risk of rot. Daylilies generally perform best when the crown is close to the soil surface.
Watering after planting
Newly planted daylilies need steady moisture while they establish, but they should not sit in soggy soil. Water deeply after planting, then keep the root zone evenly moist for the first few weeks.
Once established, daylilies are fairly drought-tolerant, but they bloom best with regular moisture during active growth and flowering. In dry spells, water deeply rather than giving frequent shallow sprinkles.
Signs you are watering too much or too little
- Too much water: Soft, yellowing foliage, poor growth, or a mushy crown.
- Too little water: Wilting, dry leaf tips, slow establishment, and fewer flowers.
Should you plant bare-root or potted daylilies at different times?
Both types can be planted successfully, but timing and handling differ slightly. Bare-root daylilies are often sold in spring or fall and should be planted soon after purchase. Container-grown plants can usually be planted whenever the soil is workable, though they still establish best in mild weather.
For bare-root plants, soak the roots briefly if they seem dry, then plant right away. For potted plants, loosen circling roots before setting them in the ground so they do not keep growing in a tight spiral.
Common mistakes to avoid
Daylilies are tough, but a few simple mistakes can slow them down or cause them to fail.
- Planting too late in the season: Roots may not establish before heat or frost.
- Poor drainage: Wet soil can rot the crown and roots.
- Planting too deep: This often leads to weak growth and fewer blooms.
- Skipping water after planting: New plants need moisture to settle in.
- Overcrowding: Plants can become less vigorous and flower less over time.
Aftercare for stronger growth and more blooms
Once planted, daylilies need only a few basic maintenance steps to stay healthy. Remove weeds early so they do not compete for water and nutrients. A thin mulch layer can help conserve moisture and suppress weeds, but keep mulch away from the crown.
Deadheading spent flowers keeps the planting neat, though it is not essential for plant health. In late season, you can remove old leaves if they become ragged, but avoid cutting foliage too early while the plant is still storing energy.
Fertilizing daylilies
Daylilies usually do not need heavy feeding. If your soil is poor, a light application of compost in spring is often enough. In richer soils, too much fertilizer can produce lush leaves with fewer flowers.
If you do fertilize, choose a balanced approach based on your soil and plant performance rather than following a rigid schedule. Healthy soil and good sun matter more than extra feeding.
Dividing and replanting daylilies
Established daylilies can be divided when clumps become crowded or bloom less freely. This is often done in spring or early fall, using the same planting window guidelines as new plants.
Dig up the clump, separate it into smaller sections with healthy roots and fans of leaves, and replant immediately. Water well afterward so the divisions can recover quickly.
Pests and diseases to watch for
Daylilies are generally resilient, but they can still have issues if conditions are poor. Slugs may chew young growth, and aphids can cluster on tender shoots. In humid or crowded plantings, fungal problems may appear if airflow is limited.
Good spacing, clean garden hygiene, and proper watering at the soil level help prevent many problems. Remove damaged foliage when needed and avoid keeping the crown wet for long periods.
Quick planting checklist
- Choose spring or early fall for the best results.
- Plant in full sun to light shade.
- Use well-drained soil enriched with compost if needed.
- Set the crown at or just above soil level.
- Water deeply after planting and during establishment.
- Mulch lightly, but keep mulch away from the crown.
- Watch for overwatering, crowding, and poor drainage.
Conclusion
If you are deciding when to plant daylilies, aim for spring or early fall in your climate, when the weather is mild and the soil is easy to work. Give them good drainage, steady moisture at first, and plenty of light, and they will usually settle in with very little fuss.
For more practical help with perennial planting and garden spacing, you may also want to read related gardening guides on site preparation and dividing perennials.