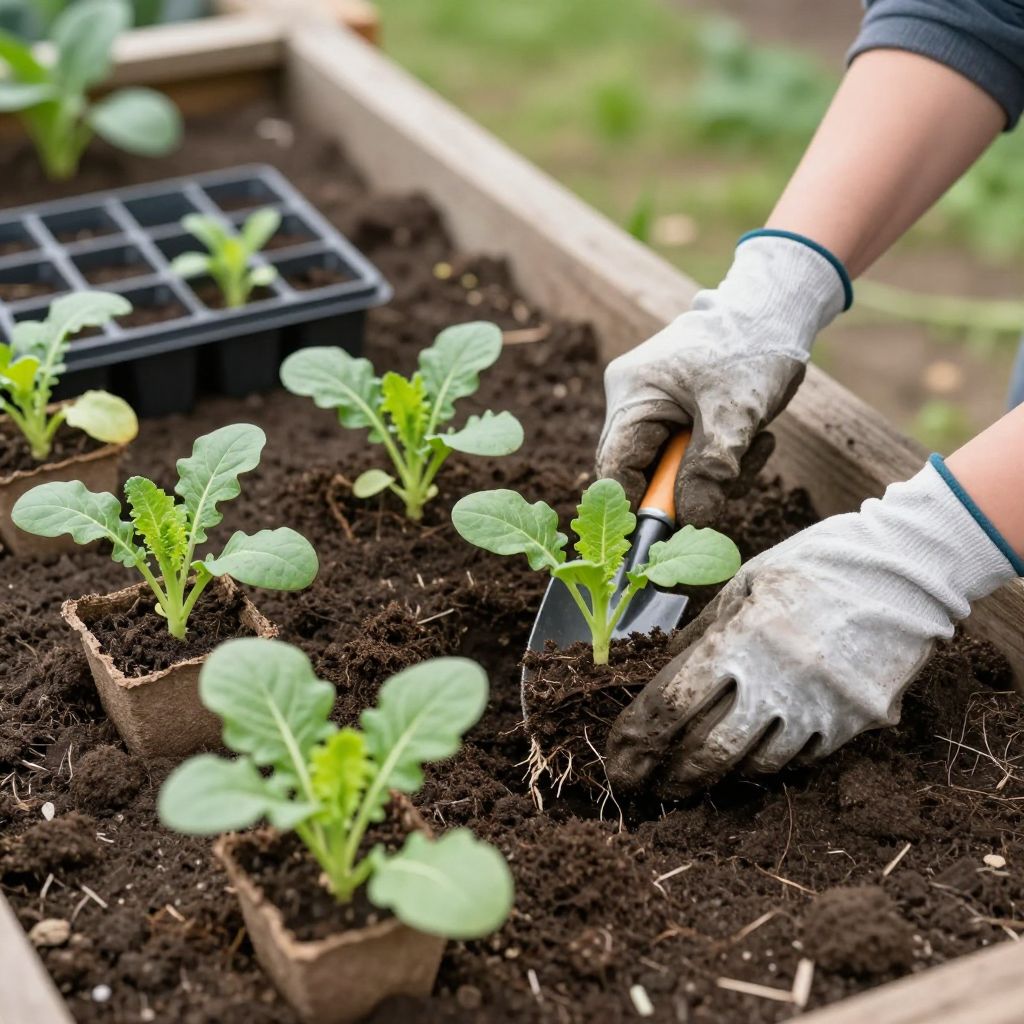
Wondering when to transplant seedlings without stunting them? The right timing depends on the plant, its growth stage, and whether you’re moving it indoors, into pots, or out into the garden. Transplant too early and seedlings may struggle; wait too long and roots can become crowded and growth can stall.
The good news is that seedlings usually give clear signals when they’re ready. If you learn those signs and match them to your local weather and soil conditions, transplanting becomes much easier and far less risky.
When to transplant seedlings?
Transplant seedlings when they have at least one or two sets of true leaves, a sturdy stem, and roots that hold the potting mix together without being tightly bound. For outdoor planting, wait until the weather and soil are suitable for that crop, and harden seedlings off first so they adjust gradually to sun, wind, and temperature changes.
How to tell seedlings are ready
Seedlings are ready to move when they are strong enough to handle the change, not simply when they first emerge. The best timing is based on plant development, not just the calendar.
Good signs a seedling is ready
- True leaves are present. These are the leaves that look like the mature plant’s foliage, not the first seed leaves.
- The stem is firm. A thin, floppy seedling is more likely to suffer transplant shock.
- Roots are visible but not crowded. If roots are circling the pot or growing out of drainage holes, it’s time to pot up.
- The seedling has steady growth. New leaves and healthy color usually mean it is established enough to move.
Signs you should wait a little longer
- The seedling only has cotyledons, or seed leaves.
- It looks stretched, pale, or weak from low light.
- The root ball falls apart when you try to lift it.
- The plant is wilting often even when moisture is adequate.
Best seasonal timing for transplanting
Season matters because temperature, daylight, and soil conditions affect how quickly roots recover. The right transplant window is different for indoor seedlings moved to larger pots and for seedlings headed outdoors.
Transplanting from seed trays to larger pots
For most annuals and vegetables started indoors, move seedlings into larger containers once they have true leaves and before roots become tightly packed. This is often called “potting up.”
Do this when the seedling can be lifted with a small root ball and the new pot will give it room to grow for several more weeks. If seedlings are growing fast, you may need to transplant sooner than you expect.
Transplanting outdoors
Outdoor transplanting should wait until frost danger has passed for tender crops and until soil is workable for cool-season plants. Soil that is cold, soggy, or compacted slows root growth and increases failure.
For warm-season crops such as tomatoes, peppers, and basil, wait for consistently warm nights and warm soil. For cool-season crops such as lettuce, brassicas, and onions, transplant earlier in mild weather if your climate allows.
Use local conditions, not just the date
There is no single transplant date that works everywhere. Your local last frost date, soil temperature, rainfall, and daytime heat all matter. A seedling in a cool coastal climate may be ready earlier than the same crop in a hot inland area.
How to transplant seedlings step by step
Whether you are moving seedlings to larger pots or into the garden, the basic process is similar. The goal is to reduce stress and keep the root system intact.
- Water the seedlings first. Moist soil holds together better and protects roots during the move.
- Prepare the new container or bed. Use fresh, well-draining potting mix for containers or loose, amended garden soil outdoors.
- Handle by the leaves, not the stem. Leaves are less likely to bruise than tender stems.
- Lift with as much root ball as possible. Use a spoon, dibber, or small trowel if needed.
- Plant at the right depth. Most seedlings should be set at the same depth they were growing before, though tomatoes are a common exception and can be planted deeper.
- Firm the soil gently. Press lightly to remove air pockets without compacting the mix.
- Water in thoroughly. This settles the soil around the roots and helps reduce transplant shock.
- Place in gentle light or shade first. Avoid harsh sun right after transplanting if the plant is moving outdoors.
Hardening off before outdoor transplanting
Seedlings grown indoors need time to adjust to outdoor conditions. Hardening off gradually strengthens them and lowers the chance of sun scorch, wind damage, and wilting.
Simple hardening-off routine
- Start with a sheltered outdoor spot for a short period.
- Increase exposure over several days to about 1–2 weeks, depending on conditions.
- Bring seedlings in if nights are cold, winds are strong, or heavy rain is expected.
- Move them into brighter sun gradually, especially if they were grown under lights.
Do not plant tender seedlings straight from a warm room into full sun and wind. Even healthy plants can collapse if the transition is too abrupt.
Soil, drainage, and container choice
Good transplant success depends on the growing medium as much as the timing. Seedlings need moisture, oxygen, and room for roots to expand.
For containers
- Choose pots with drainage holes.
- Use a light, well-draining potting mix rather than heavy garden soil.
- Move seedlings into a pot only one size up if they are still small; oversized containers can stay wet too long.
For garden beds
- Work in compost if your soil is poor or compacted.
- Break up clods and remove large debris so roots can spread easily.
- Avoid transplanting into waterlogged soil, which can suffocate roots.
Common transplanting mistakes
Most transplant problems come from stress, poor timing, or rough handling. A few small changes can make a big difference.
- Transplanting too early. Tiny seedlings are fragile and recover slowly.
- Waiting too long. Root-bound seedlings can become stunted and harder to establish.
- Skipping hardening off. Outdoor shock is one of the most common causes of setback.
- Planting too deeply or too shallowly. The wrong depth can cause stem rot or poor support.
- Letting roots dry out. Even brief drying can damage fine root hairs.
- Overwatering after transplanting. Soil should be moist, not soggy.
How to reduce transplant shock
Transplant shock is normal to some degree, but you can limit it by keeping conditions steady and avoiding unnecessary stress.
Helpful practices
- Transplant on a calm, mild day if possible.
- Work in the morning or late afternoon to avoid peak heat.
- Keep roots shaded while you work.
- Water before and after transplanting.
- Protect newly planted seedlings from strong sun, wind, or frost.
Some wilting right after transplanting is common. If the plant perks up by the next day or two, it is usually recovering normally. If it stays limp, check moisture, root damage, and temperature stress.
Special timing notes for common seedlings
Different crops reach transplant size at different speeds, so the “right” moment varies by plant type.
Fast-growing vegetables
Lettuce, brassicas, and many herbs can become crowded quickly. Transplant them while still compact and before roots circle heavily in the tray.
Warm-season crops
Tomatoes, peppers, cucumbers, and squash dislike cold soil and chilly nights. Wait until outdoor conditions are reliably warm for the crop, not just warm for a single afternoon.
Flowers and ornamentals
Annual flowers are often moved when they have several true leaves and enough root mass to hold together. Perennials may need a bit more time to establish in their trays before going into the landscape.
Troubleshooting after transplanting
If seedlings struggle after moving, the problem is often easy to identify once you know what to look for.
Wilting
Check whether the soil is dry or waterlogged. Dry roots cannot supply the leaves, but soggy roots also fail to function well.
Yellowing leaves
Temporary yellowing can happen during adjustment, but persistent yellowing may point to poor light, cold soil, or damaged roots.
Stalled growth
Seedlings may pause for a few days after transplanting. If growth stops for longer, review light levels, temperature, and whether the container is too small or too large.
Fungal problems
Overly wet conditions can encourage damping off in young seedlings and root rot in transplanted plants. Improve airflow, drainage, and watering habits if you see collapse or moldy stems.
Tools that make transplanting easier
You do not need fancy equipment, but a few simple tools can make seedling transplanting cleaner and safer.
- Small trowel or hand fork
- Spoon, dibber, or pencil for lifting seedlings
- Watering can with a gentle rose
- Clean pots or cell trays
- Fresh potting mix or compost
- Plant labels for tracking varieties and dates
Conclusion
The best answer to when to transplant seedlings is: move them when they are strong enough to handle the shift, but before roots become crowded or growth slows. Match that timing to your local weather, harden seedlings off for outdoor planting, and keep the root ball moist from start to finish.
If you want to improve your results even more, read next about how to harden off seedlings and basic seedling transplanting tips.