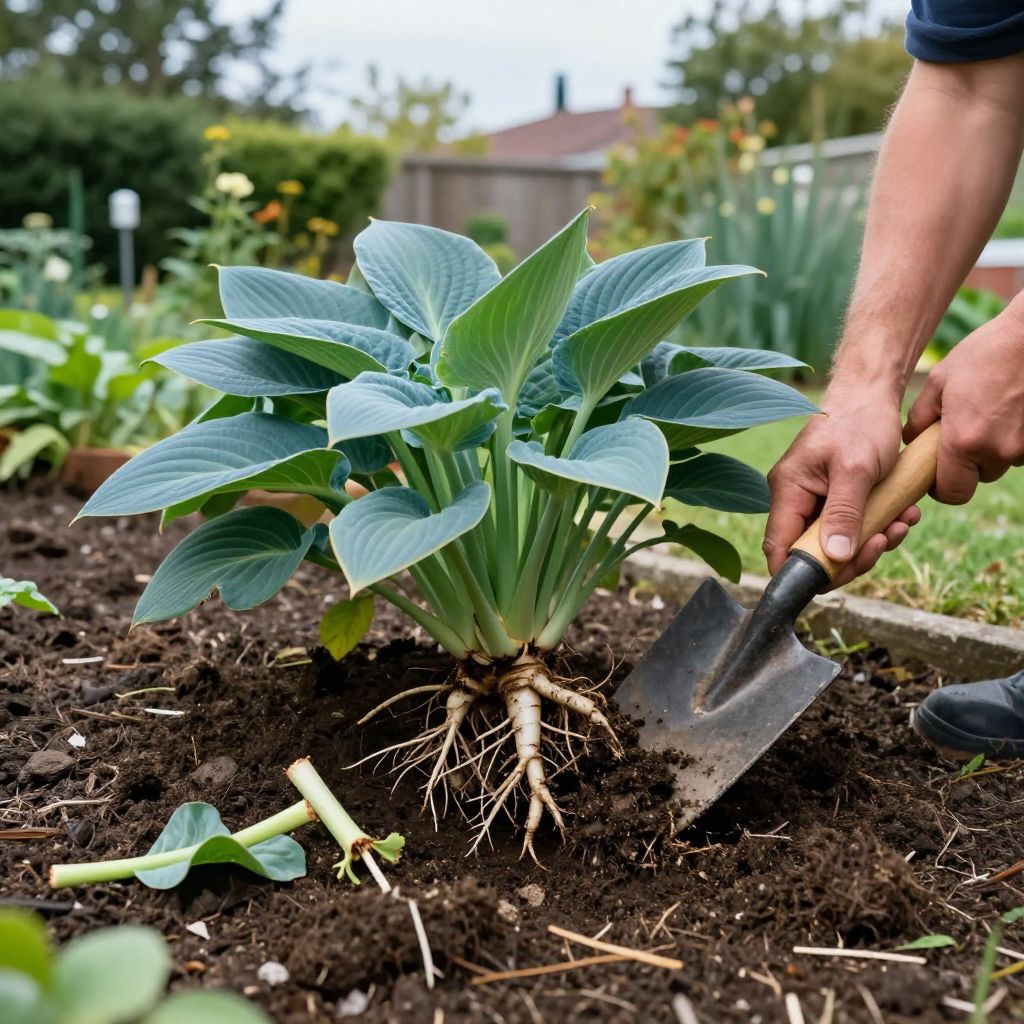
Wondering when to divide hostas without stressing the plants or losing a season of growth? The best time is usually in early spring as new shoots emerge or in early fall after the worst heat has passed. The right timing depends on your climate, the plant’s size, and how quickly you can replant and water it in.
Hostas are forgiving perennials, but division works best when the plant is actively growing and the weather is mild. If you divide at the wrong time, the roots can dry out, the leaves can scorch, and the plant may sulk for weeks before recovering.
When to divide hostas?
The best time to divide hostas is in early spring, just as the shoots are poking through the soil, or in early fall, when temperatures cool and the plant has time to re-root before winter. Avoid dividing during summer heat unless it is truly necessary, because hostas lose moisture quickly and recover more slowly.
Best seasonal timing for dividing hostas
Early spring: the safest choice for most gardeners
Spring division is often the easiest because the leaves are still small and the plant is not losing as much water through foliage. You can see where the crown is, the soil is usually moist, and the hosta has a full growing season ahead to recover.
Divide when the “eyes” or shoots are 1 to 3 inches tall, before the leaves unfurl much. If you wait until the plant is fully leafed out, the division is still possible, but it becomes more stressful and messy.
Early fall: a good second option
Fall is a strong choice in many climates if you divide at least 4 to 6 weeks before hard frost. The soil is still warm enough for root growth, but cooler air reduces stress on the foliage.
This timing works especially well where summers are hot and dry, because the plant gets a break from intense sun and heat. Just be sure the divisions have enough time to settle in before the ground freezes.
Summer division: only if you must
You can divide hostas in summer, but it is the most stressful time. High heat, bright sun, and faster evaporation can cause wilting even if you water carefully.
If you must divide in summer, do it on a cool, cloudy day, keep roots shaded, replant immediately, and water deeply. Expect the plant to look tired for a while.
How often should hostas be divided?
Hostas do not need division on a strict schedule. Many can grow well for several years without being split, especially if you like a large clump. Divide only when the plant is crowded, the center is thinning, or you want more plants for another part of the garden.
Signs that a hosta may benefit from division include:
- The clump is getting too wide for its space.
- The center looks sparse or weak.
- Flowering and leaf size seem reduced compared with earlier years.
- You want to rejuvenate an old, crowded plant.
- You want to propagate and share divisions with other gardeners.
How to divide hostas step by step
Division is straightforward, but a careful approach helps the plant recover faster. Work with a sharp spade, garden fork, or knife, and keep the roots from drying out while you work.
- Water the plant the day before if the soil is dry. Moist soil is easier to dig and gentler on roots.
- Dig around the clump several inches away from the crown, then lift the entire plant if possible.
- Shake or rinse off excess soil so you can see the crown and root structure.
- Separate the clump into sections with at least one healthy shoot or “eye” and a good portion of roots attached.
- Replant immediately at the same depth the hosta was growing before.
- Water thoroughly to settle soil around the roots.
- Mulch lightly if needed, but keep mulch off the crown.
How small should the divisions be?
Small divisions can survive, but bigger pieces establish more reliably. A division with 2 to 3 shoots is often a practical size for beginners, though larger clumps can be split further if each piece has enough roots.
Try not to make tiny divisions unless you need many plants. Very small pieces may take longer to recover and may not look attractive for a season or two.
Ideal growing conditions after division
Freshly divided hostas do best in conditions that reduce stress and encourage root growth. They prefer rich, moisture-retentive soil with good drainage, partial shade, and even moisture while they re-establish.
Soil and drainage
Hostas like soil that holds moisture but does not stay waterlogged. If your soil is heavy clay, mix in compost to improve structure. If it is sandy, compost helps it retain more moisture.
Good drainage matters because divided roots are more vulnerable to rot if they sit in soggy soil. Avoid planting in low spots where water collects after rain.
Sunlight
Most hostas prefer partial shade, especially in hot climates. Some varieties tolerate more sun, but newly divided plants usually recover better with morning sun and afternoon shade.
If you are unsure how much sun your hosta can take, give it a gentler location after division. You can always move it later if needed, but moving it repeatedly slows recovery.
Watering after division
Water deeply right after planting, then keep the soil evenly moist for the first few weeks. The goal is steady moisture, not saturation.
Check soil with your finger. If the top inch is dry and the weather is warm, water again. In cool or rainy weather, reduce watering so the roots do not stay wet too long.
Common mistakes to avoid
Most problems after dividing hostas come from timing, handling, or planting depth. A few simple precautions can make a big difference.
- Dividing in extreme heat without shade or extra care.
- Letting roots dry out while you prepare the new planting spot.
- Planting too deep, which can slow growth and encourage rot.
- Leaving too little root on each section, especially with small divisions.
- Forgetting to water after replanting, which can cause wilting and poor establishment.
- Using a dull tool that tears roots instead of making clean cuts.
What to expect after dividing hostas
It is normal for hostas to look a little rough after division. Leaves may droop, growth may pause briefly, and the plant may not look full right away.
Spring-divided hostas usually recover faster because they have the whole season to grow. Fall-divided hostas often focus on root growth first and may look better the following spring than they do before winter.
How long recovery takes
Recovery depends on weather, root size, and how much you disturbed the plant. In mild conditions, you may see new growth within a few weeks. In hotter or drier weather, recovery can take longer.
Do not panic if the plant looks stalled at first. As long as the crown is firm and the roots stay moist, hostas are usually resilient.
When not to divide hostas
Sometimes the best choice is to leave the plant alone. Avoid division if the hosta is already stressed from drought, disease, or severe heat. Also avoid dividing right before a prolonged dry spell or just as winter is setting in.
If the plant is thriving and still fits its space, there is no need to divide it simply because it is old. Many mature hostas become more attractive with age.
Can you divide hostas in pots?
Yes. Potted hostas can be divided using the same general timing and method as garden-grown plants, but container plants dry out faster and may need more frequent watering after division.
Choose a pot with drainage holes and fresh potting mix if you are replanting divisions into containers. Keep the pot in bright shade while the roots settle in.
Quick checklist before you divide
- Choose early spring or early fall if possible.
- Wait for mild weather, not extreme heat or drought.
- Prepare the new planting site first.
- Use a sharp spade or knife.
- Keep roots moist and shaded during the process.
- Replant at the same depth and water well.
Conclusion
If you are deciding when to divide hostas, aim for early spring or early fall and work on a mild day whenever possible. Prepare the new spot first, keep the roots moist, and give the divisions steady water while they settle in. With the right timing, hostas usually bounce back well and reward you with healthy new growth.
For more practical perennial care, you may also want to read about how to divide perennials and shade garden planting tips.