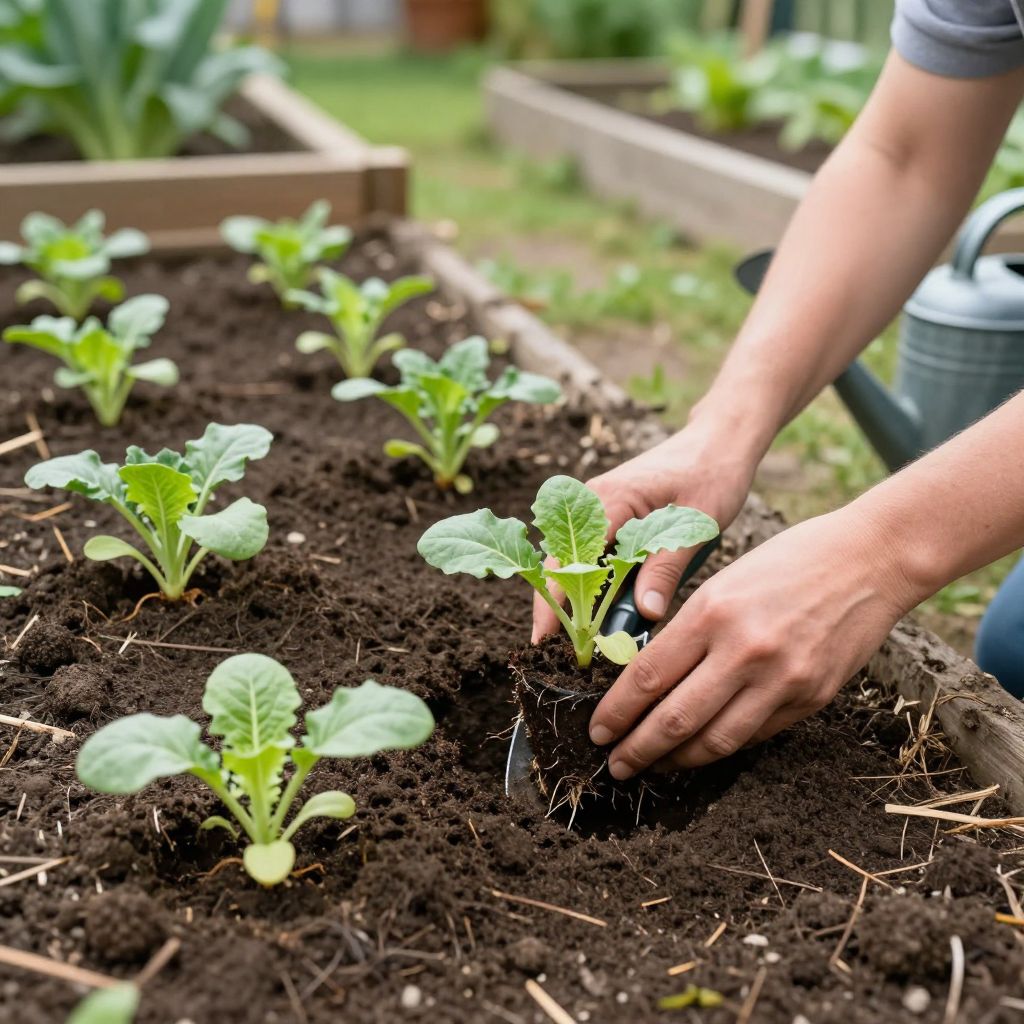
When should you transplant seedlings so they keep growing instead of stalling? The best time is usually when young plants have developed a few true leaves, roots are holding the potting mix together, and the weather or indoor conditions are mild enough to reduce stress. Timing matters because seedlings that are moved too early or too late can become root-bound, leggy, or slow to recover.
The right moment depends on the plant, your climate, and whether you are moving seedlings into larger containers or into the garden. A little observation goes a long way: healthy roots, sturdy stems, and stable growing conditions are better guides than the calendar alone.
When to transplant seedlings?
Transplant seedlings when they have 2 to 4 true leaves, a compact root system, and enough strength to handle being moved. For outdoor planting, wait until frost risk has passed and soil temperatures and daytime conditions suit the crop. For indoor potting-up, transplant as soon as roots begin circling or reaching the container edges.
How to tell a seedling is ready
Seedlings usually give you several clear signals that they are ready for transplanting. Look for a combination of leaf stage, root development, and overall vigor rather than relying on size alone.
Good signs a seedling is ready
- True leaves are present — not just the first seed leaves, but the plant’s actual foliage.
- The stem is sturdy, not stretched and floppy.
- Roots are visible at drainage holes or holding the soil together when lifted gently.
- The seedling has outgrown its cell or pot but is still actively growing.
- Leaves look healthy, with no major yellowing, spotting, or collapse.
Signs you waited too long
- Roots are tightly circling the pot.
- The plant dries out very quickly after watering.
- Growth slows even though light and moisture are adequate.
- Stems become crowded or bent as seedlings compete for space.
Do not wait for a seedling to become root-bound before moving it. Once roots fill the container, the plant can become stressed and harder to establish later.
Seasonal timing for transplanting seedlings
Seasonal timing depends on whether the plant is going indoors, outdoors, or from one container to another. The safest approach is to match the transplant to the plant’s growth stage and the local weather, especially temperature and frost risk.
Spring transplanting outdoors
Most warm-season crops, such as tomatoes, peppers, cucumbers, and basil, should wait until nights are consistently mild and frost is no longer a concern. Cool-season crops can often go out earlier, but they still benefit from stable soil and moderate temperatures.
If you are unsure, use local frost dates as a starting point, then adjust for your site. A sheltered city garden may warm faster than a windy exposed yard, and heavy clay soil often stays cold longer than raised beds or sandy soil.
Summer transplanting
Summer transplanting can work, but heat adds stress. Move seedlings in the cooler part of the day, water them in well, and protect them from harsh afternoon sun for a few days if needed. This is especially important for tender plants and anything shifted from indoors to full sun.
Fall transplanting
In mild climates, fall can be an excellent time to transplant certain seedlings because cooler air reduces stress and roots keep growing in warm soil. In colder regions, however, fall transplanting must happen early enough for plants to establish before frost or winter dormancy.
Indoor potting-up
When transplanting seedlings into larger pots indoors, timing is more flexible. Move them up when roots fill the current container, growth slows, or the seedling needs more space to stay upright and healthy. This is common with tomatoes, peppers, herbs, and flowers started early under lights or on a bright windowsill.
How to transplant seedlings step by step
Transplanting is easiest when you prepare everything first. The goal is to disturb the roots as little as possible while giving the seedling fresh soil and room to grow.
- Water the seedlings lightly an hour or two before transplanting so the root ball holds together.
- Prepare the new pot or bed with loose, well-drained soil or a quality seed-starting mix amended as needed.
- Make a hole deep enough to hold the roots without bending them.
- Gently lift the seedling by the leaves or root ball, not by the stem.
- Set the plant at the same depth it was growing before, unless the crop benefits from deeper planting.
- Firm the soil lightly around the roots to remove air pockets.
- Water thoroughly so the soil settles around the roots.
- Place the seedling in the right light level and protect it from extreme sun, wind, or cold for a short recovery period.
For seedlings in trays, use a dibber, spoon, or small label to lift them cleanly. For larger transplants, a hand trowel works well. Clean tools help reduce disease spread between plants.
Indoor vs. outdoor transplanting
Indoor and outdoor transplanting have different challenges. Indoors, the main issue is usually root crowding and light. Outdoors, the main issue is environmental shock from sun, wind, heat, cold, or poor soil conditions.
Transplanting indoors to larger pots
Choose a pot with drainage holes and only one size larger than the current container. Too much extra soil can stay wet too long and increase the risk of root problems. Use fresh potting mix, not heavy garden soil, for container seedlings.
After potting up, keep the plant in bright light and avoid overwatering. Seedlings often need a day or two to settle, but they should not wilt persistently.
Transplanting indoors to the garden
Before moving seedlings outside permanently, harden them off for 7 to 10 days if they have been grown indoors. Gradually increase outdoor exposure to sun and wind so the plant can adapt without scorching or collapsing.
- Start with a shaded, sheltered spot for a short time.
- Increase outdoor time gradually each day.
- Bring plants in if nights are too cold.
- Hold off on full sun until the seedlings are acclimated.
Soil, drainage, and spacing basics
Good transplant success depends on the planting site as much as the seedling itself. Loose soil with decent drainage helps roots expand quickly, while compacted or waterlogged soil can slow establishment.
What the soil should be like
- Moist but not soggy.
- Crumbly and easy to work.
- Rich in organic matter where appropriate for the crop.
- Free of large clods and debris that block root growth.
If your soil is heavy clay, mix in compost to improve structure, but do not overwork wet soil. If drainage is poor, consider raised beds or containers for seedlings that dislike soggy roots.
Give seedlings enough room
Spacing matters because crowded seedlings compete for light, water, and nutrients. Follow the spacing needs of the mature plant, not the size of the seedling at transplant time. A tiny plant may still need a surprisingly wide berth once it grows.
Common transplanting mistakes to avoid
Most transplant problems come from stress, poor timing, or rough handling. Avoiding a few common mistakes can make a big difference in survival and growth.
- Transplanting too early before the seedling has true leaves or enough roots.
- Waiting too long until the plant is root-bound and stunted.
- Handling seedlings by the stem instead of the leaves or root ball.
- Planting into cold, wet, or compacted soil.
- Skipping hardening off for indoor-grown seedlings.
- Overwatering after transplanting and suffocating the roots.
- Exposing tender seedlings to full sun or strong wind too quickly.
What to expect after transplanting
A little pause in growth is normal after transplanting. The plant is spending energy on root recovery, so it may look quiet above ground for several days. Healthy seedlings usually perk up once roots re-establish.
How to care for seedlings after moving them
- Keep the soil evenly moist, not saturated.
- Provide appropriate light without sudden exposure to extremes.
- Avoid heavy feeding until the plant resumes active growth.
- Watch for wilting, yellowing, or leaf scorch.
If a seedling wilts in the heat but recovers by evening, it may simply need temporary shade and better moisture balance. If it stays limp or yellow, check for root damage, poor drainage, or transplant shock from temperature extremes.
Troubleshooting transplant shock
Transplant shock is common, especially with tender seedlings or rough weather. The good news is that many plants recover if you correct the stress quickly.
Why seedlings wilt after transplanting
- Roots were disturbed too much.
- The soil dried out too quickly.
- The plant was moved into strong sun or hot wind too soon.
- The root ball was planted too deep or too shallow.
How to help recovery
- Water deeply once, then let the top layer dry slightly before watering again.
- Provide temporary shade during the hottest part of the day.
- Check that drainage holes are open and soil is not compacted.
- Remove damaged leaves only if they are clearly dying.
If pests or disease are part of the problem, inspect the undersides of leaves and the soil surface. Damping-off, aphids, fungus gnats, and root rot can all weaken seedlings and make transplanting harder.
A simple rule of thumb for timing
If you want one easy guide, use this: transplant when the seedling is strong enough to handle the move and the new growing conditions are stable enough to support recovery. That usually means a few true leaves, healthy roots, and weather that is not too cold, hot, or windy.
For your next step, check your seedlings today for true leaves, root crowding, and soil moisture, then decide whether they need a bigger pot or a move outdoors. If you want to plan the rest of your seed-starting season, read more about hardening off seedlings and how to choose the right potting mix.